

The rule of thirds
Rules are made to be broken? Sometimes. But... Rules are made for a reason. If you break this rule, chances are a car won't crash into you at an intersection or a wall won't fall down after you are completed with your remodel. The rule of thirds is a simple tool to...
Rules are made to be broken? Sometimes. But... Rules are made for a reason. If you break this rule, chances are a car won't crash into you at an intersection or a wall won't fall down after you are completed with your remodel. The rule of thirds is a simple tool to help you in your creative composition. When you are laying out your creative element, whether it be shooting a video, creating a graphic, or taking a photograph, think through where you want your audience's attention to fall. The rule of thirds suggests dividing your canvas into 9 equal spaces and placing your subject at the point or on the line of these divisions. Essentially cut your canvas into thirds and use those lines to be your guide on where your subject should be. When this rule is followed, it is claimed your art has more tension, energy, dynamics and interest. For the most part I agree. I don't shoot every photograph following this rule, but I do think of every photograph through the lens of rule of thirds. Let me explain.
The rule of thirds dates back over 200 years ago and has been a major part of photography ever since. Although there is skepticism and debate, it's a rule you can see in several photographs and movies from creatives all over the world.
Setting up for the rule of thirds
When I first started learning how to shoot videos and DSLR photography, a common theme of the rule of thirds continued to appear in my training. I started noticing others were using the rule, when before I thought it was just random placement. Sometimes rules can feel confining and claustrophobic but when you learn the freedom within a rule, it actually helps you structure your creative playbook so that all of your finished products do not look the same.
There are several ways you set yourself up for using the rule of thirds. Many cameras today actually have built in grids you can use while you are shooting, whether looking through the viewfinder or using a screen. I have this set on my Canon 80D both in the viewfinder and live view screen for photos and video. You can even turn on a grid on your iPhone!
Canon 80D Viewfinder
iPhone camera app
80D live view screen
Typically most photo editing software includes grids in the "Crop" section. If you have ever noticed these lines, now you know why there are there! I use Lightroom to edit most of my professional photographs and love this simple feature in the cropping overlay. There are times when I may not shoot exactly level and when I go in to realign, I can use these grids to both level and crop.
Using the rule of thirds
There's several ways to use the rule of thirds. Here's a few ways I use it:
ALIGN THE HORIZON
Line up your horizon of your landscape photo with either the top or bottom horizontal line of the grid, depending on what you want your audience to focus on. If the sky is the focus, align the horizon with the bottom horizontal line. It helps you give enough context to see where the photo has been taken, but also, puts emphasis on the sky. If the sky isn't the emphasis, put the horizon at the top line.
ALIGN THE EYE
It's beneficial to emphasize your subject, specifically a person, from the background using rule of thirds by aligning the subject on one of the vertical lines. Generally, I try and get the subjects eye closest to the camera on one of the intersections of the thirds lines (see example below). You have four spots where the lines intersect so get creative with where your subject is placed on the grid, mixed with the background. Once again, This adds dynamics and helps the subject stand out from the background. If the subject is not a person or animal, place the subject on the line where you see fit.
Dont forget, you can use the rule of thirds in portrait mode as well. The example shows the body of the subject aligned with the frame right on the right vertical third line. It may be slightly more tricky, but it adds a new dimension to your artwork.
BREAKING THE RULE
There are several times when I do choose to break the rule BUT I always view the frame through the rule of thirds to see if it would help the composition. Once I rule it out, then I will either bend the rule or break the rule completely. Maybe you want more sky in the frame. Try 1/4ths instead of 1/3rds. Or 1/5ths. You still align your composition to the lines, you just move them slightly in the frame.
Another option is to just throw the whole idea out of the window. Usually this happens with symmetrical photographs, or when I use lines of the subject, or sometimes, you just want to make your own line.
At the end of the day, you are the artist. You get to choose how you want to compose your art. Rules are here to help us stay on track so I encourage you to embrace the rule of thirds when you can. It will make you a better artist. Once you learn the power of the rule of thirds, you will know how to break it.
What other rules have you heard of in the creative world?
Your first video...
Recently I was at a conference and a company decided to make a video to support their point. Awesome! In the world we live in, video is a powerful tool and we have all sorts of great equipment available at the tips of our fingers...
Recently I was at a conference and a company decided to make a video to support their point. Awesome! In the world we live in, video is a powerful tool and we have all sorts of great equipment available at the tips of our fingers. I recently watched a YouTube video where someone was comparing my main DSLR shooter to an iPhone 7 Plus. The crazy part is, the iPhone kept up surprisingly well with the DSLR in the right circumstances!
Maybe your church is exploring video announcements, or you would like to make a recap of your vacation to share with your family, or some other creative idea you have in your head, but don't want to pay hundreds of dollars to see it happen. Here's a few tips for those of you who have no experience making a video, but would like to give it a shot:
1. Story is King
Without a good story line, your video will be hard to watch. Before you get out the camera, sit down and think through exactly where you want to take your audience. Think of it as a roadmap. Where are they now and where do you want them to be? How do we get from point A to point B, and what do you want to show them along the way? Start with the BIG IDEA of the video. What you are trying to say in one phrase. Once you have that phrase at the top of the page, figure out where your audience is, and where you want to take them.
We live in a fast paced world. There's a reason why commercials are very short. We have short attention spans. Try and make your video no longer than 90-120 seconds. If you can't convince me in 120 seconds, you probably won't. Coca-cola does an amazing job telling their story in 90 seconds. Watch their videos and you'll see it's possible. Never make a video longer than 4 minutes. That's way too long.
If you want to use stats in your video, use them to tell the story. Story is much more powerful than stats. I will not remember the statistic you gave me, but I will remember the story of the girl on the street you interview. Steer away from numbers.
2. The 3 main components of video
Once we have the storyline written out, every video has 3 main components: audio, lighting, and a camera to capture the video. Without thinking through any of these components, your video will be terrible.
3. Audio is the most important part of making a video
THE MOST IMPORTANT component of making a video is audio. You can sit through a grainy video on YouTube, you can watch a dark shadow filled video. With terrible audio, your video goes from being decent to unwatchable. This is where you separate the good from the bad videos. Make sure to think through audio above everything else.

Essential Tip: The closer your microphone is to it's subject, the better the sound.
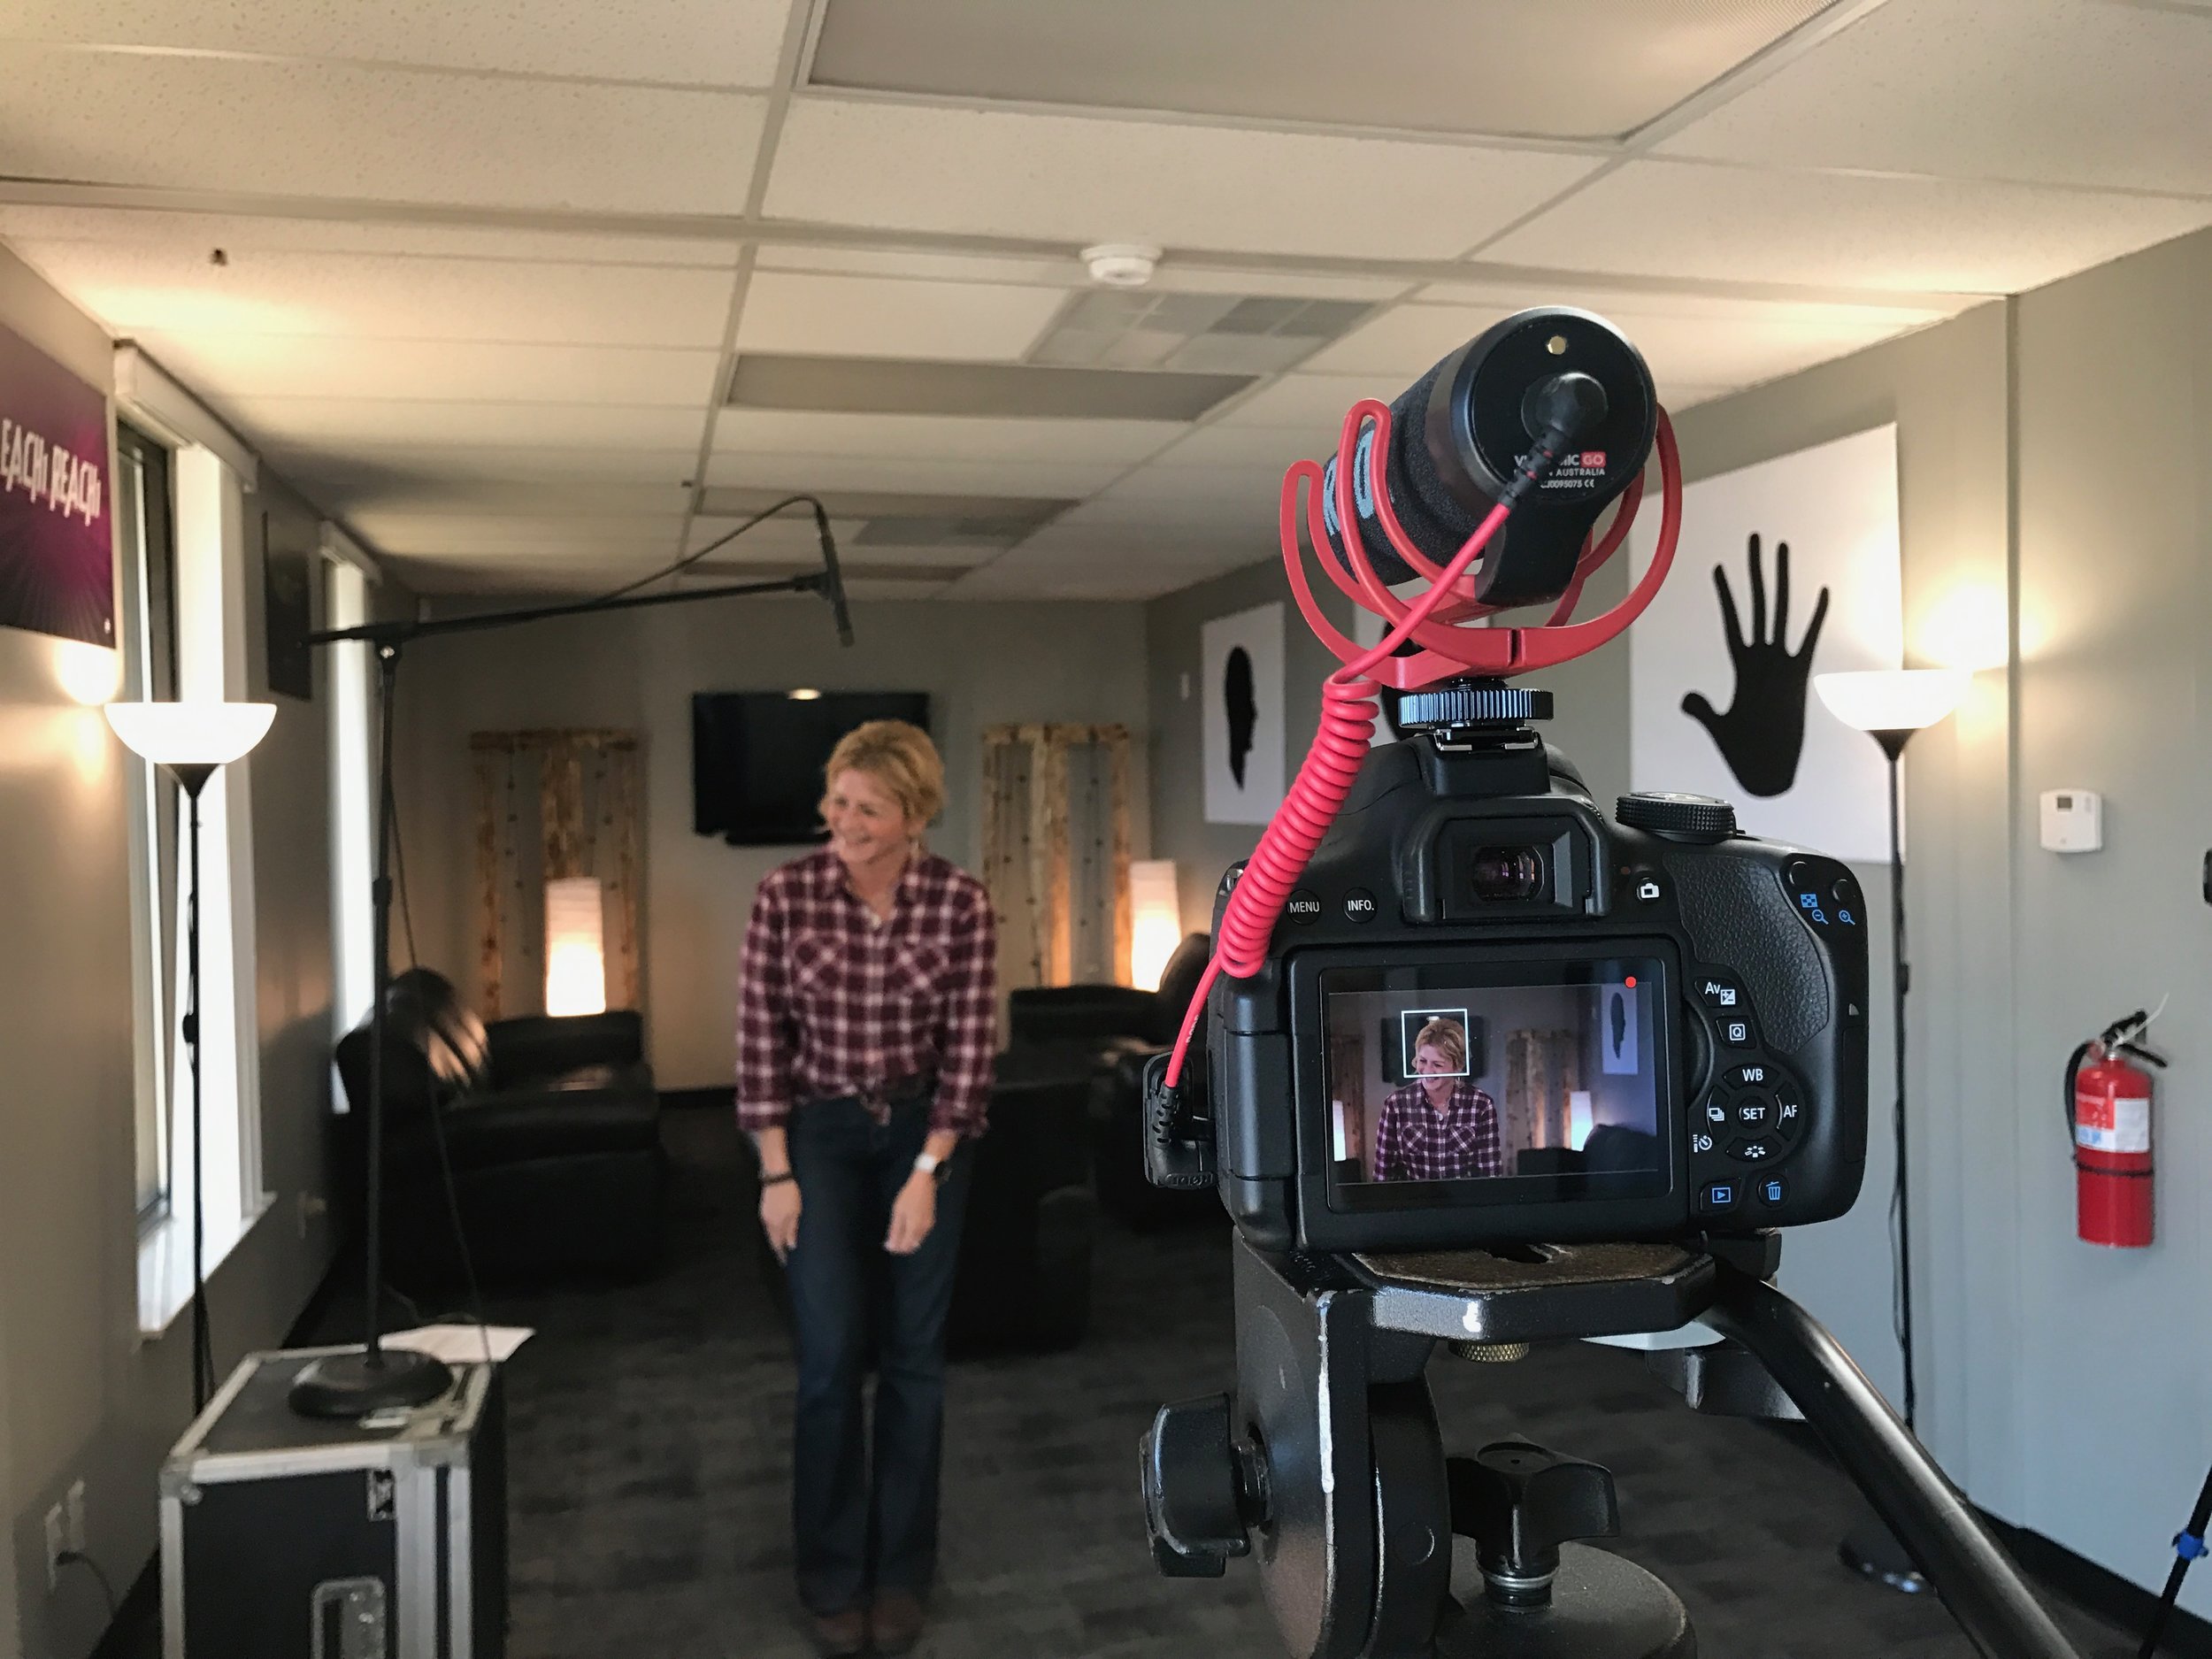
There's several different ways to capture audio, but usually the camera's built in microphone is not one of them. Your camera is placed with your subject in mind, not audio. The farther away you are from the source, the noisier (echoes, hissing, ambient sounds, inaudible words) the shot will be. The best way to capture the audio is to use some sort of additional recording device as close to the source of the sound as possible. You want to position your microphone absolutely as close as possible without being seen in the shot. You can even you an iPhone as a recording device, as long as it's within just a few feet away. I have been using a condenser microphone on a boom stand directly above the subject. With this setup, I can get the microphone inches away from the subjects head without seeing the mic in the frame. It's amazing how close you can get the microphone if you are careful. Also, use your composition (makeup of the frame) to your advantage for audio. If your subject is sitting at a table, use a small plant to block the view of the camera from the recording device or microphone. As long as you cant see the microphone and you can get good sound, it's fair game. Be creative.
You can buy a lapel that plugs directly into a smart phone to get the mic very close. I am not a huge fan of lapels because people typically do not naturally wear a mic strapped to their shirt all the time. It just doesn't look natural to me. If you can find a way to hide it so I don't know it's there, use it!
4. Lighting is more important than the video itself
Similarly to audio, lighting is more important than actually shooting the video. The way all cameras work is through lighting. The brighter the subject, the better the quality. Make sure to take time and think through lighting. A standard studio style of lighting is 3 Point Lighting. When shooting a video indoors, I usually have a main light on the subject, a light cancelling the shadows from the main light, and then some sort of light behind the subject to help create depth and dynamics. You can get creative with your lighting. Use everyday household lights or even a shop light! You'll be surprised of the difference in quality if you think through your lighting.
You do not need to spend TONS of money on lighting. We have used bright shop lights covered with wax paper to make the light softer. I have used the glow from a TV for back lighting. I have used a simple light bulb to help fill in the light. Don't forget, daylight is free. Position your subject near a window and you get lighting for free!
Be creative! This week I was helping someone create a welcome video for their website. We used a pulpit, music stand and shop light to help light up the already lit room. It makes a huge difference!
A few lighting tips: If you are shooting someone with glasses, move the light higher to avoid glare on their glasses. If you add a light behind the subject, but can't see the light directly in the camera frame, you will create a defining glow around your subject. If you are outdoors on a sunny day with strong shadows, stand under a tree in the shadows to shoot your subject, but make sure there are no holes in the shadows for light to shine through on your subject. This is very distracting.
The brighter the shot, the less your camera has to compensate for low lighting, making a better image. Take a few extra moments to think through how to get great lighting. Take a test shot, even with street interviews. Think through a few spots that would be great lighting for the interview before asking your subject to share.
5. Turn the camera horizontal
It amazes me how many videos I see someone shooting vertical. I have never ever seen a vertical tv in someone's home. Remember, if you are shooting a video, turn the camera on it's side and take the shot long ways. No exceptions.
Speaking of the camera, here's a few tips:
- Don't shoot 4K. Even if your camera has it, your computer probably isn't fast enough to edit 4K yet. Mine isn't... and I do this for a living.
- Shoot a few seconds before and a few seconds after. It's better to have a little extra film than not enough.
- Shoot some B roll. Grab some supplemental footage of the area you are recording. Try to shoot some additional footage of the subject at a different angle, possibly grab some of the surrounding environment, maybe even record some close up shots of something to help tell your story. Be creative. You will use this footage later to help enhance your final product. Once again, its always better to have too much footage.
- The rule of thirds. If you are not familiar, divide your camera into 3 sections both vertical and horizontal and stick your subject on one of the points. It will look better. It's always fun to break rules, but... it's a rule for a reason.
- Stabilization is key. Figure out a way to keep your camera from shaking. iPhones have good image stabilization, but it's not perfect. If theres no need to hold the camera, find a way to prop it up. I use a tripod for most of my stabilization. Don't overlook stabilization.
6. Editing/Final touches
If you are considering making your own video, chances are you have some sort of editing software. iMovie, for a beginner, is not too bad. Simply drag your footage and assets (things like logos and motion graphics) into your editor and organize them from the beginning so they are all easy to find.
Line up your recorded audio and recorded video with the sound waves from both files in the editor. Line up the peaks and valleys until it sounds very close, and then mute the bad audio.
Transitions are exactly what you think they are: the transition between two clips. Don't get too crazy. crossfade, straight cut, etc. The longer and more dramatic the transition, typically the cheesier it is. Think fast. Don't have any extra time in your clip or it will feel too long. Remember you only have 90 seconds to work with anyways. To break up long sections of talking, overlay your B roll you shot on site to help keep the attention of your viewer. Use your B roll to help tell your story, not distract from it. Remember timing is everything when it comes to a consistent project.
Words: Sometimes you will want to add words/sentences/titles to your video. Keep it simple. The fewer the better. Make sure to have a large margin around your text and make it easy to read. Never overlap text. It doesn't look good and it's hard to read. It comes across as a mistake, not art.
7. Background Music
Music is a very powerful part of your video. It can change the mood instantly.
Just because you purchased the new album from David Crowder, does not mean you have the right to use it in your video. Legal music for you to use in your video is considered Royalty free music. There's tons of it available for free online, just search for what you want. Another option is to create your own track in something like GarageBand. Find a loop/track that works for you and have fun creating.
Remember music is to support your audio, not compete. If you are struggling to figure out what you should listen to, chances are your background music is too loud.
Video can be intimidating and the best way to improve your video making capabilities is to make more videos. My first videos were "meh" at best. After doing it for a few months, they were dramatically better. Have fun, remember this is a creative process. Don't feel like you have to do it alone. The more people involved, the more ideas you will have to work with. Ask for help.
If you have any questions to get started in your video making, I would love to help you! Feel free to ask.